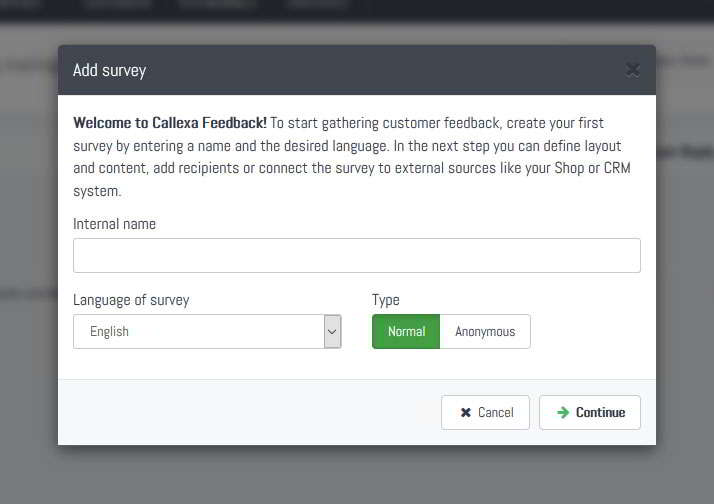
When you first log into your fresh Callexa account you are prompted to create your first survey. Just define an internal name (not visible to your customers), set the language and submit.
On the next page customize your survey's layout, text blocks and follow-up questions. You can change all those settings at any time in the future. Read the guide "Wie kann ich eine Befragung erstellen und anpassen?" for more information.
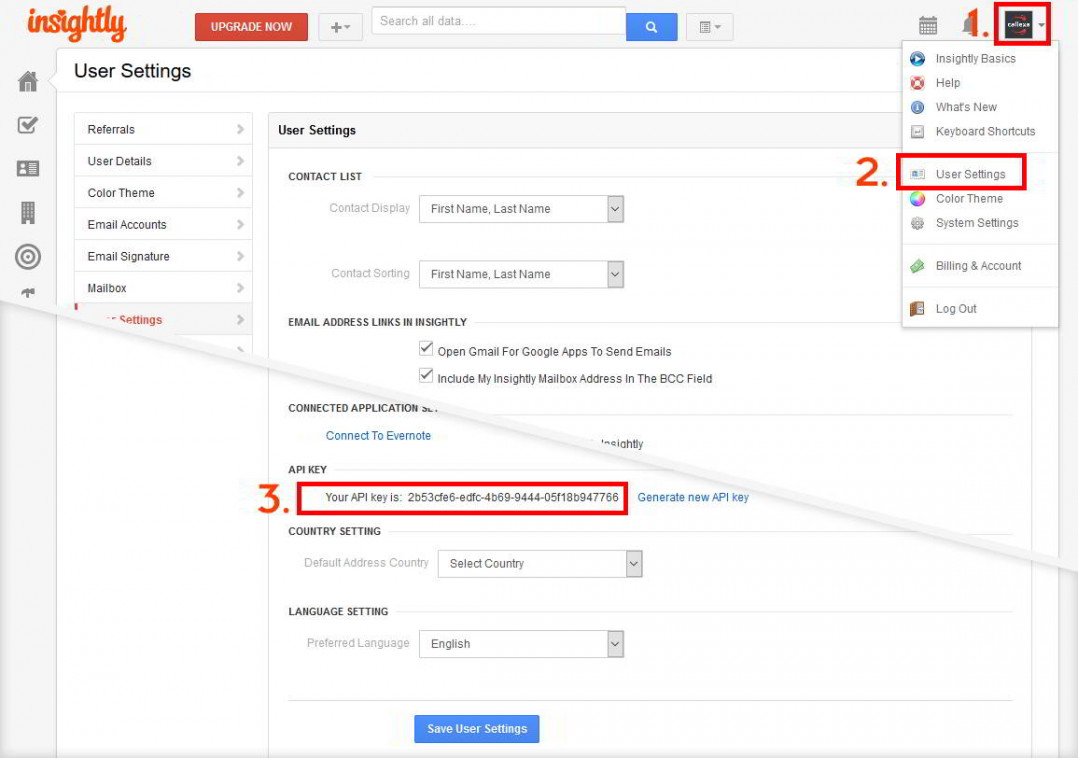
Log into your Insightly account, click on the profile image in the top right corner and select "User Settings". On the settings page scroll down to find your API key. Copy it to your clipboard.
More information can be found here.
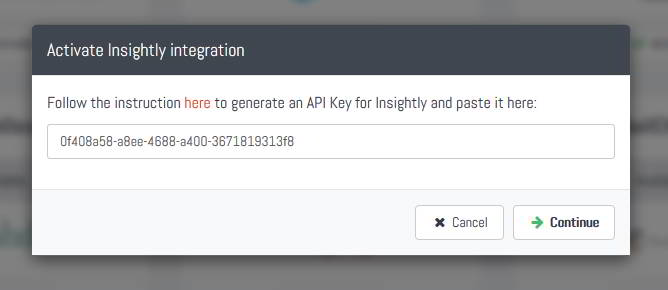
Back at Callexa, click the "Integrations" tab of your survey, look for the Insightly card and click "Activate". A dialog will pop up asking for the API key you obtained in Step 2. This authorization must be granted only once.
Note: Callexa will only read the IDs, dates, as well as the email address and full name of the assigned customer. We do not store or process any other content from your Insightly account.
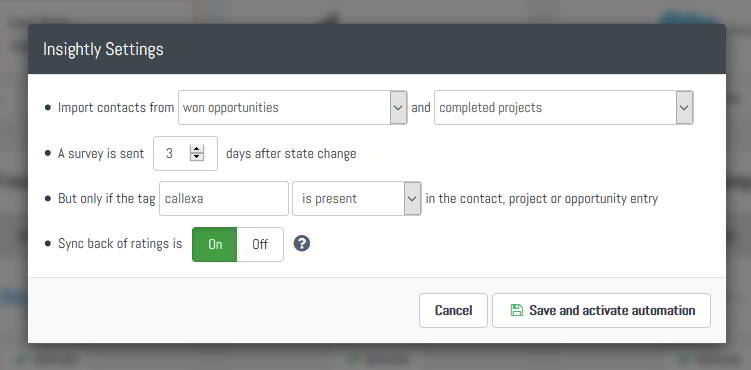
If the authorization was successful, you will be prompted to configure the import settings. By default contacts are imported shortly after an opportunity is set to "won" or a project is set to "completed". This can be changed to either skip all projects or all opportunities or even include lost opportunities and cancelled projects.
Callexa checks hourly if one of your projects or opportunities has been newly set to the corresponding state and adds the attached contact to the recipients queue. You can set a delay in days to wait before the actual sending of the survey should take place.
If you further want to control who to survey right from your Insightly dashboard, just define a tag which has to be present (or is not allowed to be present) in order to import a contact. For example set a tag "callexa", which has to be present. Now at Insightly, add that tag to an opportunity BEFORE changing it's state to "won". All contacts with a won opportunity not having that tag will be skipped.
By enabling the sync back option, incoming ratings and comments will be added to the Insightly contact entry as a new note.
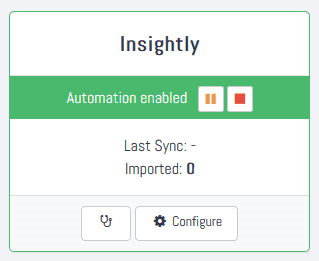
Actually yes. If the integration card is highlighted in green, from now on recipients will be added automatically and surveys are sent with the scheduled delay.
We recommend you to test drive your survey with an email address of your own. Check the "How can I add recipients manually?" guide for instructions.
Otherwise, you are all done. Just follow your usual routine at Insightly and wait for the first responses to come in.